|
Oracle Express Intallation - Felix John COLIBRI. |
- abstract : Downloading, installing the Oracle Express Server and the Instant Oracle Client. Step by step installation and checking, finally using Delphi and FireDac to display the Scott / Tiger EMP table
- key words : Oracle Express, Instant Oracle Client, TnsName, TnsPing, SQL*Plus, FireDac, the Scott / Tiger database, the HR database
- software used : Windows 7 Pro 64 bits, Delphi Xe8
- hardware used : Intel Quad, 4*2Ghz, 4Go Ram, 320 G hard disc
- scope : Delphi 5, 6, 7, 8, Delphi 2005 to 2010, Delphi Xe to Xe9, Delphi Seatle, Berlin, Tokyo
- level : Delphi developer
- plan :
1 - Oracle Express Oracle Express is a light Oracle Server installation. It allows us to use
simple Oracle Database We will present - Oracle Express Server: the download, installation, Sql*Plus testing
- Oracle Instant Client download and installation
- using the Oracle Database in Delphi using then FireDac database access
components
1.1 - the Oracle Express Server 1.2 - Downloading Oracle Express Google will tell you where to download Oracle Express.
 | We used Oracle Database Express Edition 11g Release 2 page
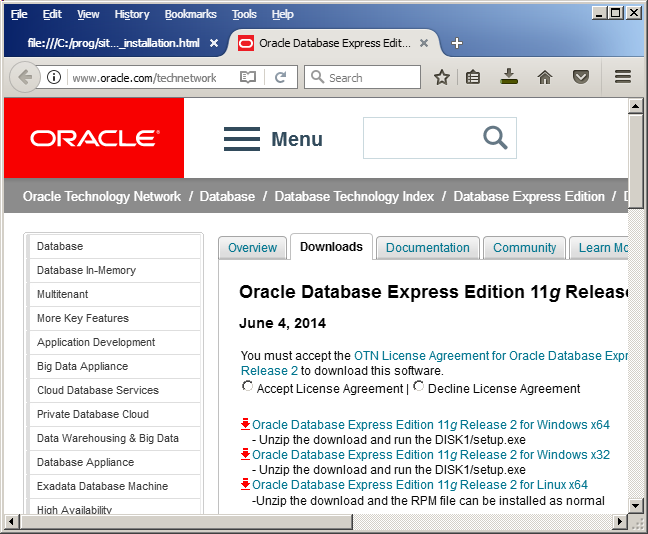 |  | select the "Accept License Agreement" |
 | select one of the versions. We selected the Oracle
Database Express Edition 11g Release 2 for Windows x64 version Be aware that using the 64 bit version will not enable any design time use of Oracle in the (32 bit) Delphi Ide (connection using the Data Explorer or in any Form or DataModule)
|  | Oracle presents a login account 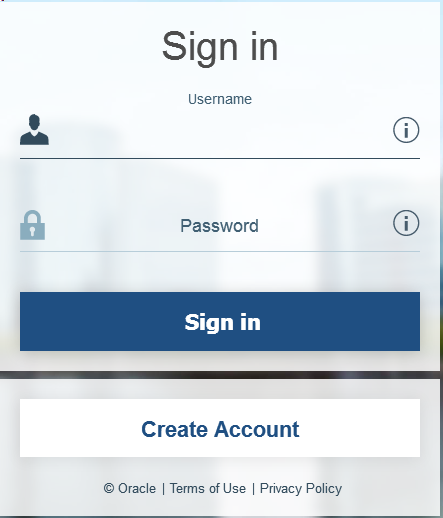 |
 | since we do not have an Oracle account, we click "Create an account" |  |
an Oracle account form is presented 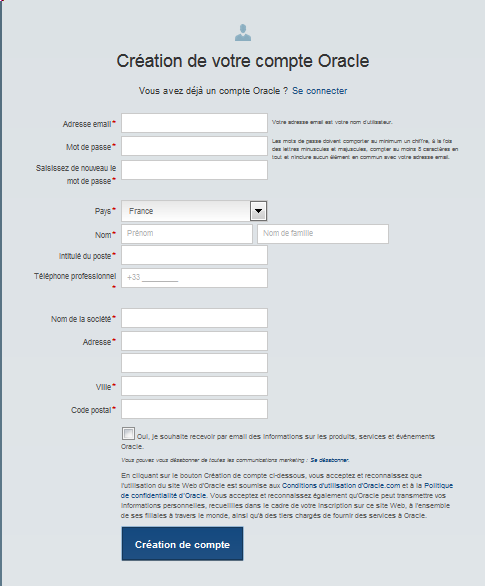 |  | enter your parameters
|  | an email is sent |  | click the email
|
 | the account is validated |  |
go back to the download form, enter your email and password |  | the OracleXE112_Win64.zip file is downloaded (324 Meg) |
 | unzip the file |  | the setup is present
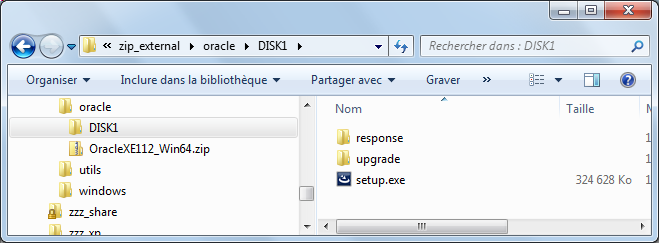 |  | start Setup.Exe |
 | Instalshield prepares the Installation Wizard is presented: 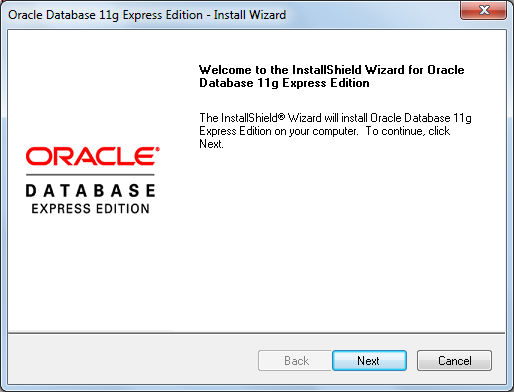 |
 | click "Next" |  | a license agreement is presented
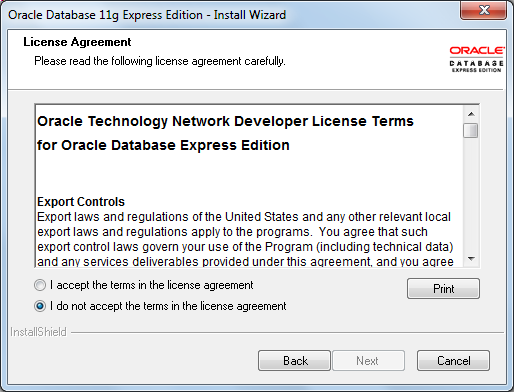 |  | click "I accept" and "Next" |
 | the installation directory is suggested 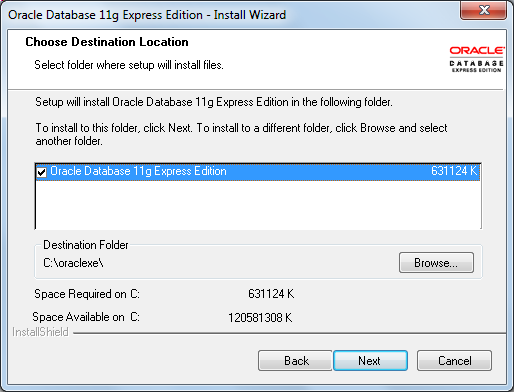 |
 | accept (or select another directory) |  | a password is required
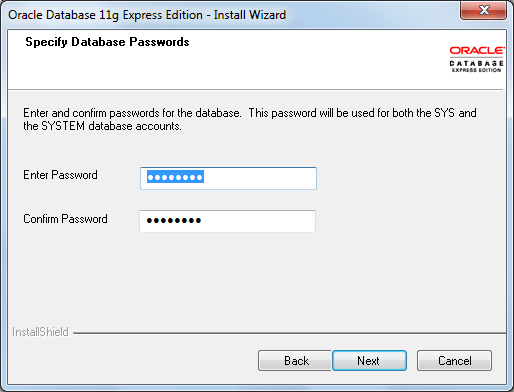 |  | type and confirm a password. We entered aaaaaa1- |
 | a summary of your parameters is presented 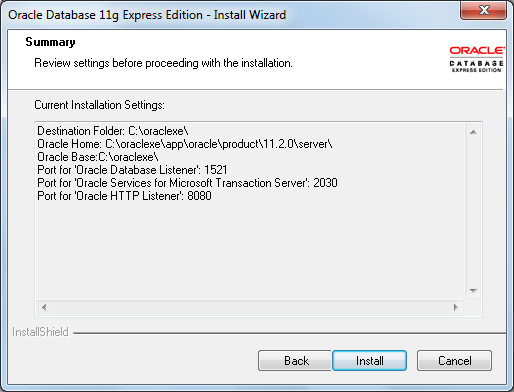 |
 | save those parameters and click "Install" |  |
the installation proceeds (the progress bar is grey, with green bursts). It creates the files, the services, configures the database 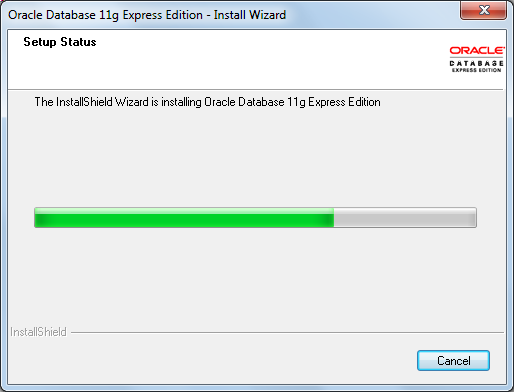
After around 5 minutes the end dialog is presented  |  |
click "Finish"
|
1.3 - What has been installed |